
KB User's Guide - Settings Tab - Uploading a New Site Logo
Note
You must have full administrative permissions in your space to perform these steps. This means access to the Documents, Settings, and Users tabs.
If your KB site has the UW Theme for KB applied to it, please contact us at kb-team@doit.wisc.edu with your specifications. We are happy to help.
Image File Formats
Using your preferred image-editing software, create/update the existing KB Logo and download it in one of the following formats:
- *.png
- *.gif
- *.jpg
Update Your KB Logo
-
In the KB Admin Tools, navigate to the Settings tab and select the Layout link on the left.
-
Find either the "Internal" or "External" sections and expand either the Custom Homepage Layout or Standard / Subpage Layout panel under the section you want to make the change to:
-
If your site's homepage has a custom layout and you'd like to change that logo, expand the Custom Homepage Layout panel.

-
If you are updating the logo for your main site layout, expand the Standard / Subpage Layout panel.

-
-
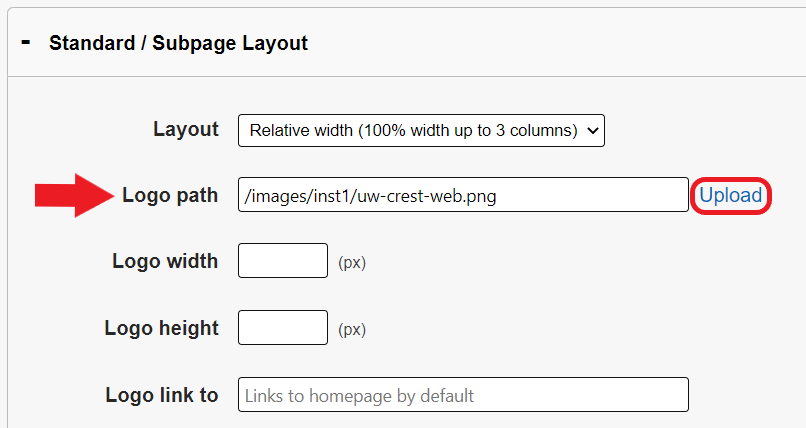
Locate the Logo Path field in your desired panel then click on the Upload link.

-
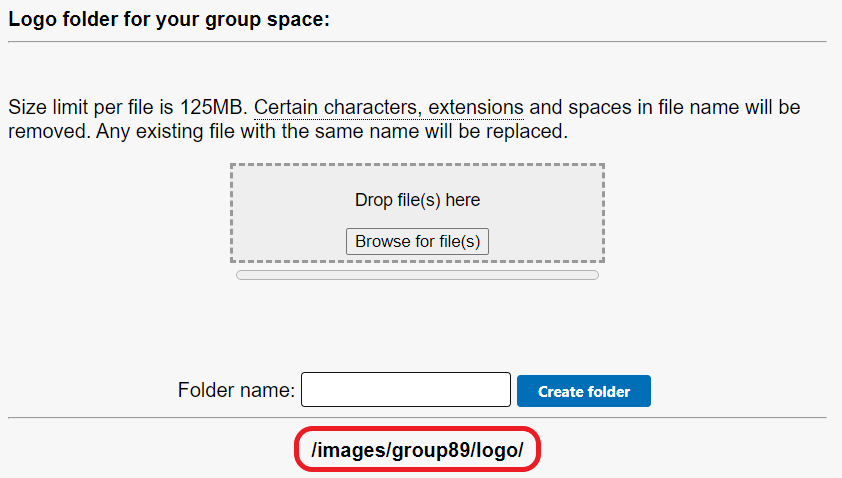
A pop-up window will appear called Logo folder for your group space.
-
Click on the Browse... button, navigate to the location of the updated KB Logo, and confirm the file to select it for uploading.
-
The file will be uploaded automatically, displaying a confirmation message. After a second, the name of the image should now appear in the Image table below.
-
Copy the image path from the pop up window (example: /images/groupXXX/logo) into the Logo path text field for the logo you want to update.
-
Append that image path with the name of the image (example: /images/groupXXX/logo/updated_logo.png)
-
Click on the Update button at the bottom of the page
-
Navigate to the Live site and check the change to the logo you just made. Please note that if you uploaded a new logo with the same file name as a previous logo, you may need to clear your browser cache to see the changes.